
Tattoo Needles for Color Packing: Choosing for the Space You Need to Fill
For color packing, start with the shape you need to fill. Compare magnums for open sections, then check how much room is left around outlines and highlights. Needle count helps you shortlist cartridges, but it does not tell you the grouping’s exact width or guarantee a solid result.
Choose around three parts of the design
Open color blocks: compare a magnum grouping with enough room to work inside the shape. Check its actual width before choosing a larger count. A large design can still contain sections where that grouping will not fit.
Narrow corners and gaps: look at the smallest space you intend to fill, not just the size of the whole tattoo. A smaller grouping from the same range is worth comparing if the larger one leaves too little room beside the outline or a highlight. Count alone does not confirm the fit.
Solid color beside a gradient: decide whether you want one configuration for both tasks or separate options. Compare the listed uses of M1 and CM, then keep the other specifications as similar as possible. These are selection checks, not promises about the finish.
Compare M1 and CM for the work you actually have
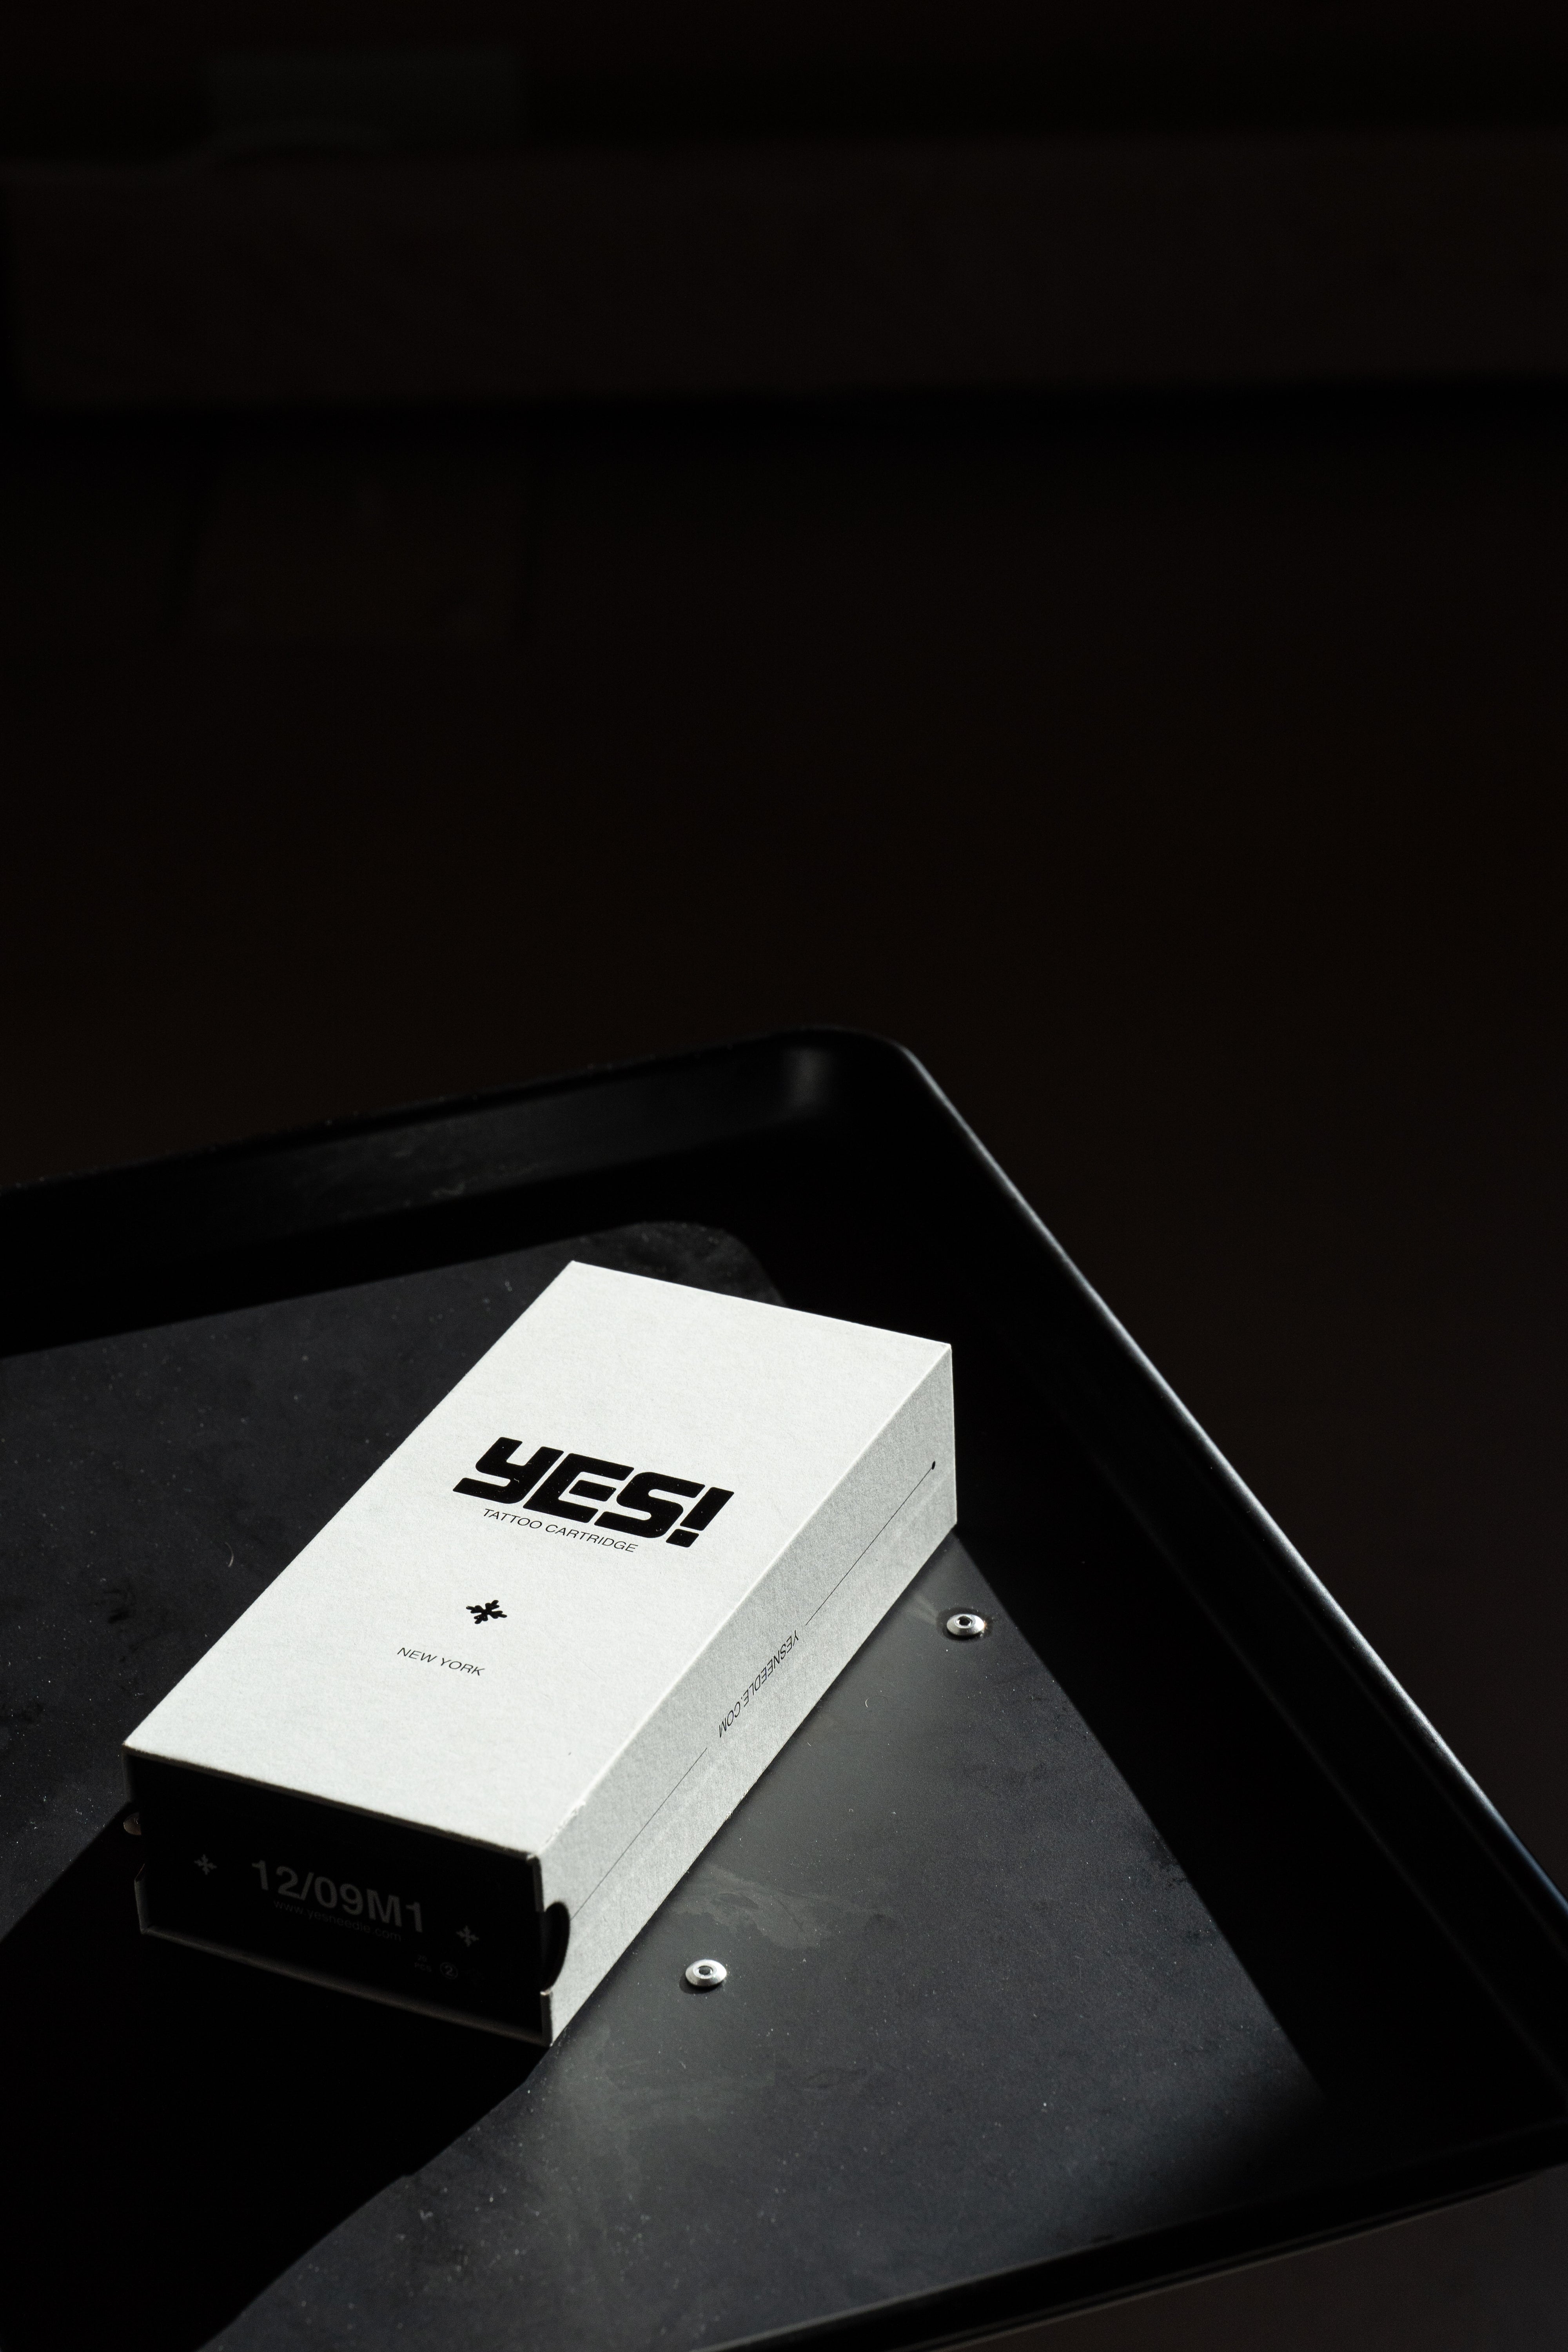
YESNeedle M1 cartridges are listed for color packing, solid fills and shading large areas. They are a relevant starting point when you are shopping for a design with open blocks of color.
YESNeedle CM cartridges also list color packing among their uses, alongside soft transitions. Include them in your comparison when the same design combines solid areas and gradients. CM does not mean “shading only,” and M1 does not guarantee better saturation.
For a closer look at the grouping profiles, see our curved versus straight magnum guide.

Compare the specifications, not just the largest number
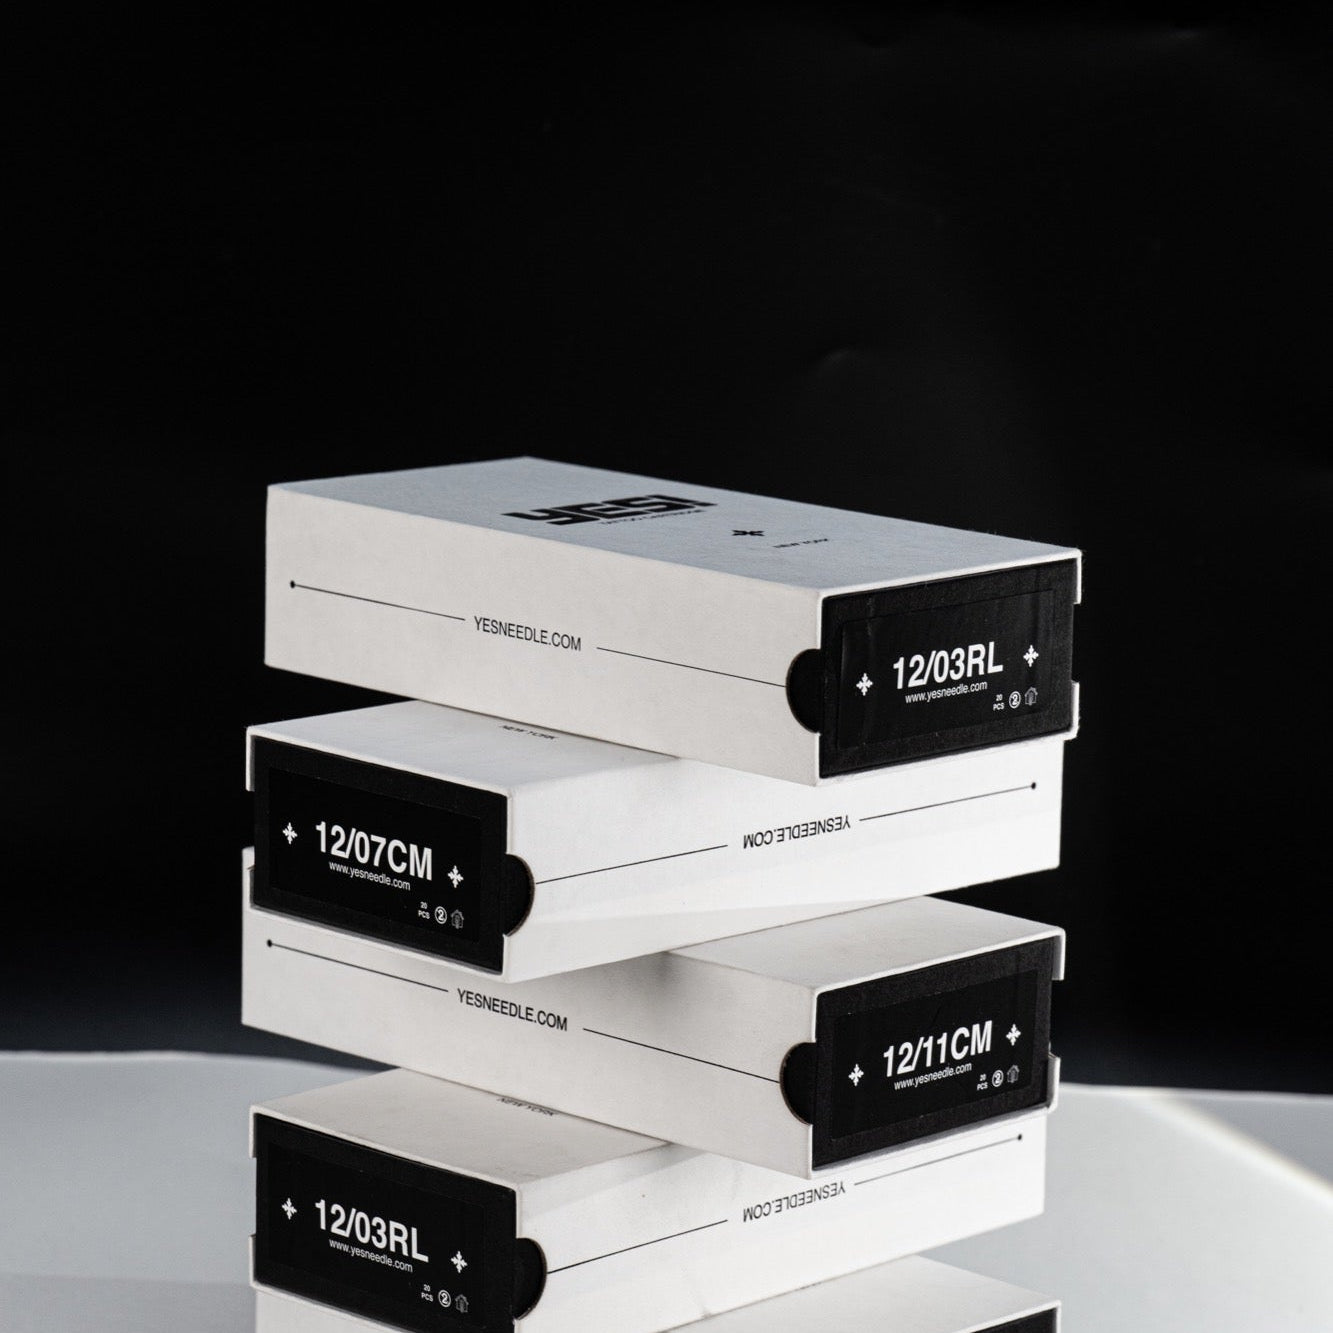
Both YESNeedle ranges list 12/05, 12/07, 12/09 and 12/11 configurations. Within each range, compare the available counts against the space in your design. Ask for the actual grouping width if it is not listed; do not calculate it from count alone.
Keep diameter, grouping and taper separate. If you change all three at once, you cannot tell which difference explains a change in feel during practice. Our needle size guide explains the code fields.
Before you add a box to your order
Write down the configuration you already use, the area you want to fill, and what you want to compare. Then check the exact model, available size, confirmed taper and equipment fit on the product page or with support.
Choose a cartridge that fits the job and the space you have. A product label cannot promise healed saturation, fewer passes or the same result for every artist.
People Also Read
How Many Tattoo Cartridges Should You Stock? A Studio Reorder Worksheet
Work out what to reorder from your actual cartridge usage, usable stock and delivery window. Includes a simple worksheet for working studios.
Tattoo Needles for Shading: How to Choose for Your Design
Start with the shadow in your design, then compare the grouping and count. A practical guide to narrowing down shading cartridges.
Long Taper vs. Short Taper Tattoo Needles: What Changes?
Taper describes the narrowing section of a needle. Here’s what changes—and what to check before choosing your next cartridge.
Curved Magnum vs. Straight Magnum: Which Should You Choose?
Choosing between CM and M1? Compare the tip profile, the area you’re working on and matching needle counts before adding another box to your kit.